


Alright beautiful people. You've told me you need more tips for taking product pictures at home, so let's talk about The Splash. The Splash is the older sibling of the sprinkle and pour techniques (as in, legal drinking age older) and is super useful for summertime or during sweater weather when you want to snap cozy photos of bourbon, cider, and hot chocolate during
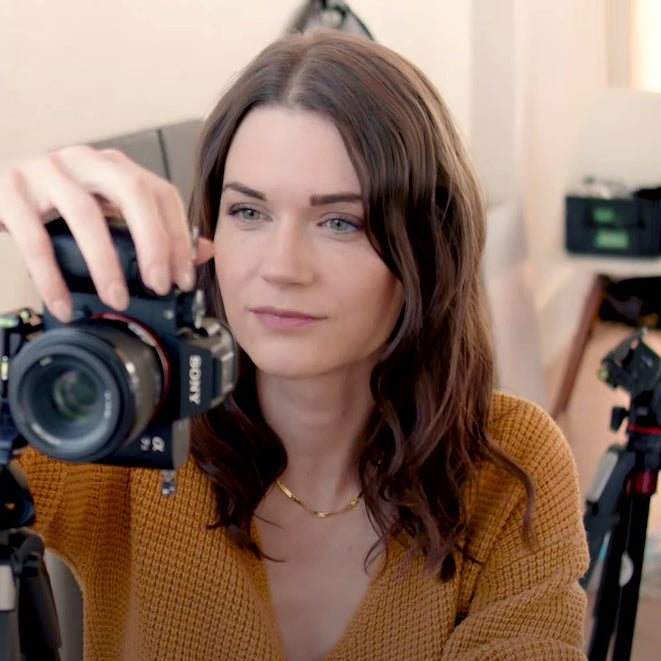
To show you how to set up your scene and DSLR camera (including timer, shutter, and flash settings), I've teamed up with product/wedding/pet/everything photographer Jamie Cobb of Oklahoma-based PhotoVille (a killer photo booth rental company with booths in Dallas, LA, and OKC) to bring you a less-than-5-minute video walkthrough featuring Jamie herself. You'll also get a glimpse of Jamie's best studio lights for product photography. The best part? The same setup and general camera settings will let you capture sprinkle, pour, and drizzle shots just as easily! And you DON'T need an assistant to make it happen! That's what timers are for, silly.
Oh and don't worry about writing down her equipment or camera settings - I've copied them right here at the bottom.
Full disclosure: you pretty much have to have a DSLR camera to capture this technique properly. Phone cameras just aren't there yet. But don't worry if you're a phone photographer - all of my other articles work for phones!
The setup:
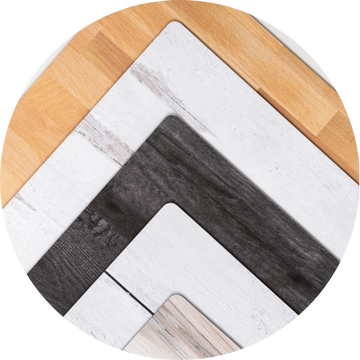
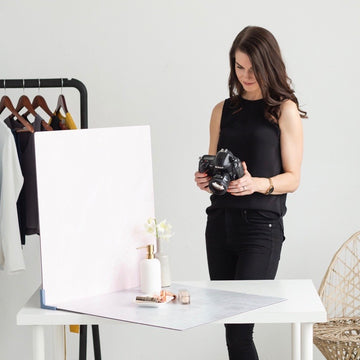
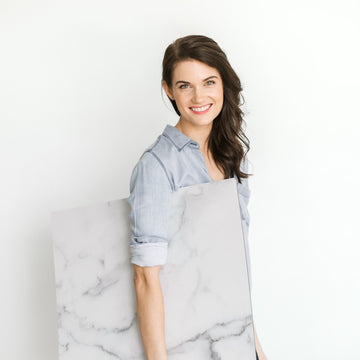
- Pair two backdrops in an L-shape. I’m clearly partial to Replica Surfaces held together with Replica Stands.
- Place a glass near the front of your horizontal Surface. This will keep the vertical Surface out of focus and give your photo the most depth. Any glass should work so just pick one that suits the beverage you’re using.
- Fill the glass nearly to the top to allow a big splash. Use room temperature liquid to avoid frost forming on the glass.
- Set your camera to shoot horizontally. This allows you to crop photos into square or vertical orientations based on your needs.
- If shooting alone, set the self timer for 10 seconds. Walk into shot. Once timer beeps its final beep, drop the object into the drink. Try a berry, large olive, thick citrus wedge, or cinnamon stick. The heavier the object, the bigger the splash.
- Repeat as many times as necessary to get a splash you love. If using Replica Surfaces, they’ll wipe clean splash after splash.
Camera settings*:
Shutter speed 125
ISO 400 S-stop 4
Flash 1/128
Note: settings are specific to your lighting conditions. Simply plugging these into your camera may not give you the same results. However, they're a great starting place. Modify as needed.
Jamie's equipment:
Camera: Fujifilm X-T3
Flash transmitter: Flashpoint R2
Speedlight: Flashpoint
Light stands: Manfroto 8ft column stands
Tripod: Manfroto
Surfaces: Weathered Wood and Slate Replica Surfaces
Want more food photography tips? This article is for you.
Love the Surfaces Jamie used? Create your own bundle.

This video is EVERYTHING!!! I’ve already placed my order and cannot wait to get my replica surfaces!!